
How to Bake Canned Dog Food Into Treats?
Are you looking for a fun and healthy way to treat your furry friend? Homemade dog treats may be the perfect solution!
We will discuss why making homemade dog treats is beneficial, the different types of canned dog food you can use, the equipment you’ll need, a step-by-step guide on baking canned dog food into treats, and storage and serving suggestions.
Learn how to create delicious treats for your beloved canine companion!
Key Takeaways:
Why Make Homemade Dog Treats?
Making homemade dog treats offers numerous benefits for your furry friend and can be a rewarding experience for pet owners who want to provide the best for their dogs.
One primary advantage of homemade treats is the ability to control the ingredients. This allows you to ensure your pup receives only high-quality, wholesome ingredients, free of any preservatives or additives.
In addition, making treats at home can lead to cost savings in the long run. Instead of frequently purchasing expensive store-bought options, creating your recipes can be more budget-friendly without compromising on quality.
Crafting tailored recipes enables you to cater to your dog’s unique dietary requirements. Consulting your vet for advice on ingredient choices can help address any specific health concerns or dietary restrictions your pup may have.
Control Over Ingredients
Having control over the ingredients in your homemade dog treats ensures that you can avoid additives, preservatives, or allergens that may be present in commercial products.
When you make your own dog treats, you can handpick the freshest and most natural components, ensuring top-quality nutrition for your furry friend. Utilizing a food processor can make the process a breeze, allowing you to blend ingredients seamlessly. By choosing an egg substitute like applesauce or bananas in your recipes, you can cater to specific dietary needs or preferences. There are countless recipes available online that cater to different tastes and dietary requirements, making the homemade treat-making experience versatile and enjoyable.
Cost Savings
Making your own dog treats can lead to significant cost savings over time compared to buying expensive commercial treats, especially if you use basic ingredients that are already in your kitchen.
Homemade dog treats provide another layer of financial benefit through the ability to buy ingredients in bulk, further reducing the cost per treat. By shopping smart and opting for ingredients like oats, sweet potatoes, and peanut butter, which are not only budget-friendly but also healthy for your furry friend, you can create a wide variety of treats without breaking the bank. Freezing homemade treats in batches can prolong their shelf life, allowing you to make larger quantities at once and saving you time and money in the long run.
Personalized for Your Dog’s Needs
Tailoring homemade dog treats to meet your dog’s specific dietary requirements or health concerns, with guidance from a veterinarian if needed, ensures that your furry companion receives personalized nutrition and care.
When creating homemade dog treats, consider seeking advice from a veterinarian to address any potential allergies, intolerances, or specific nutritional needs your dog may have. This could involve identifying ingredients to avoid or include based on your dog’s age, breed, or medical history.
Utilizing customized recipes allows you to cater to your dog’s taste preferences while also accounting for any dietary restrictions. A vet can provide insights on suitable ingredients and proportions to maintain a balanced diet.
Focus on dietary considerations such as protein levels, fat content, and portion sizes to optimize your dog’s health and well-being. It’s essential to strike a balance between providing a delicious treat and a nutritious addition to your dog’s daily meals.
What Types of Canned Dog Food Can Be Used?
There are various types of canned dog food that can be used to create delicious and nutritious homemade treats for your pet, each offering different benefits and flavors.
One popular option is wet canned food, which has a high moisture content, making it a great base for treat recipes that require a softer texture.
For dogs with specific dietary requirements or sensitivities, grain-free varieties are available, ensuring that your furry friend can enjoy tasty treats without any unwanted ingredients.
Additionally, limited ingredient options provide a simple yet nutritious choice for treats that are gentle on your dog’s digestion. The diverse flavors and choices in canned dog food allow you to get creative with your homemade treat recipes, catering to your dog’s preferences and nutritional needs.
Wet Canned Dog Food
Wet canned dog food is a popular choice for homemade treats as it provides moisture and flavor, making it easier to blend with other ingredients for baking delightful snacks for your furry friend.
The texture of wet canned dog food adds a velvety richness to baked recipes, ensuring a delectable result. Its high moisture content keeps treats moist and chewy, appealing to your pup’s taste buds. The flavor enhancement from the canned food can elevate the overall taste profile of your homemade goodies, turning them into irresistible delicacies for your canine companion. Incorporating wet canned dog food in your baking recipes opens up a world of creative possibilities and ensures that your furry friend gets nutritious and delicious treats.
Grain-Free Canned Dog Food
Grain-free canned dog food is a suitable choice for dogs with specific dietary needs or sensitivities, offering a healthy alternative for creating homemade treats that cater to various dietary restrictions.
When opting for grain-free canned dog food in homemade treats, you ensure a diet that aligns with your pet’s nutritional requirements. This type of dog food is formulated to provide essential nutrients without unwanted fillers, making it an ideal base for treats. Incorporating high-quality proteins into your recipes can boost your dog’s overall health. Check with your vet to ensure the chosen ingredients align with your dog’s specific needs and recommended dietary guidelines.
Limited Ingredient Canned Dog Food
Limited ingredient canned dog food offers simplicity and purity in recipes, making it a convenient option for creating homemade treats with minimal components and maximum nutritional value for your pet.
By using limited ingredient canned dog food in your homemade treats, you eliminate the need to search for multiple ingredients, saving time and effort in the cooking process. These ready-to-use foods are already balanced with essential nutrients, ensuring your dog gets a healthy and well-rounded diet.
Preparing treats with limited ingredient canned dog food also reduces the risk of allergies or digestive issues, as you know exactly what your furry friend is consuming. Simply blend the canned food in a food processor for a smooth consistency, making it easier to incorporate into your favorite treat recipes.
What Equipment Do You Need?
To create delicious homemade dog treats, you will need essential equipment such as a baking sheet, mixing bowl, and cookie cutters to shape and prepare the treats for baking.
Having parchment paper or silicone baking mats can prevent sticking and make cleanup a breeze when baking your treats.
It’s also handy to have measuring cups and spoons to ensure accurate ingredient quantities for the recipes.
A cooling rack will help your treats cool down faster after they come out of the oven, allowing your furry friend to enjoy them sooner.
Having airtight containers or resealable bags will help store the treats properly to maintain their freshness for as long as possible.
Mixing Bowl
A mixing bowl is essential for combining and blending various ingredients to create the perfect dough or mixture for your homemade dog treats, ensuring uniform consistency and taste.
When preparing homemade dog treats, a mixing bowl serves as a versatile tool to aid in the integration of different textures and flavors. By using a mixing bowl, dog owners can easily control the ratios of key ingredients such as flour, peanut butter, and eggs to achieve the desired nutritional value. Incorporating interactive elements like treat molds or hidden surprises like peanut butter-filled toys into the mixture inside the mixing bowl can add an element of fun and engagement for your furry friend.
Baking Sheet
A baking sheet is necessary for shaping, baking, and cooling your homemade dog treats, providing a flat surface for the treats to cook evenly and cool down after baking.
When you’re preparing your ingredients for the dog treats, a baking sheet becomes a vital tool in ensuring that the treats maintain their shape and integrity throughout the baking process. The even heat distribution that a baking sheet offers is crucial in preventing any parts of the treats from burning or undercooking, resulting in a perfectly baked batch. The flat surface of the baking sheet facilitates proper ingredient adherence, allowing the treats to cook uniformly and develop the desired texture.
Cookie Cutters
Cookie cutters add a creative touch to your homemade dog treats, allowing you to shape them into various forms, sizes, and designs that can be visually appealing and enjoyable for your pet.
By using cookie cutters of different shapes, such as bones, paws, hearts, or even fire hydrants, you can customize your treats to suit any occasion or theme. This customization not only makes the treats visually appealing but also adds a personal touch to your pet’s snack time. When your dog sees a treat shaped like a favorite toy or object, it can spark excitement and engagement, making the treat even more special.
Step-by-Step Guide to Baking Canned Dog Food into Treats
Credits: Poormet.Com – Stephen Wilson
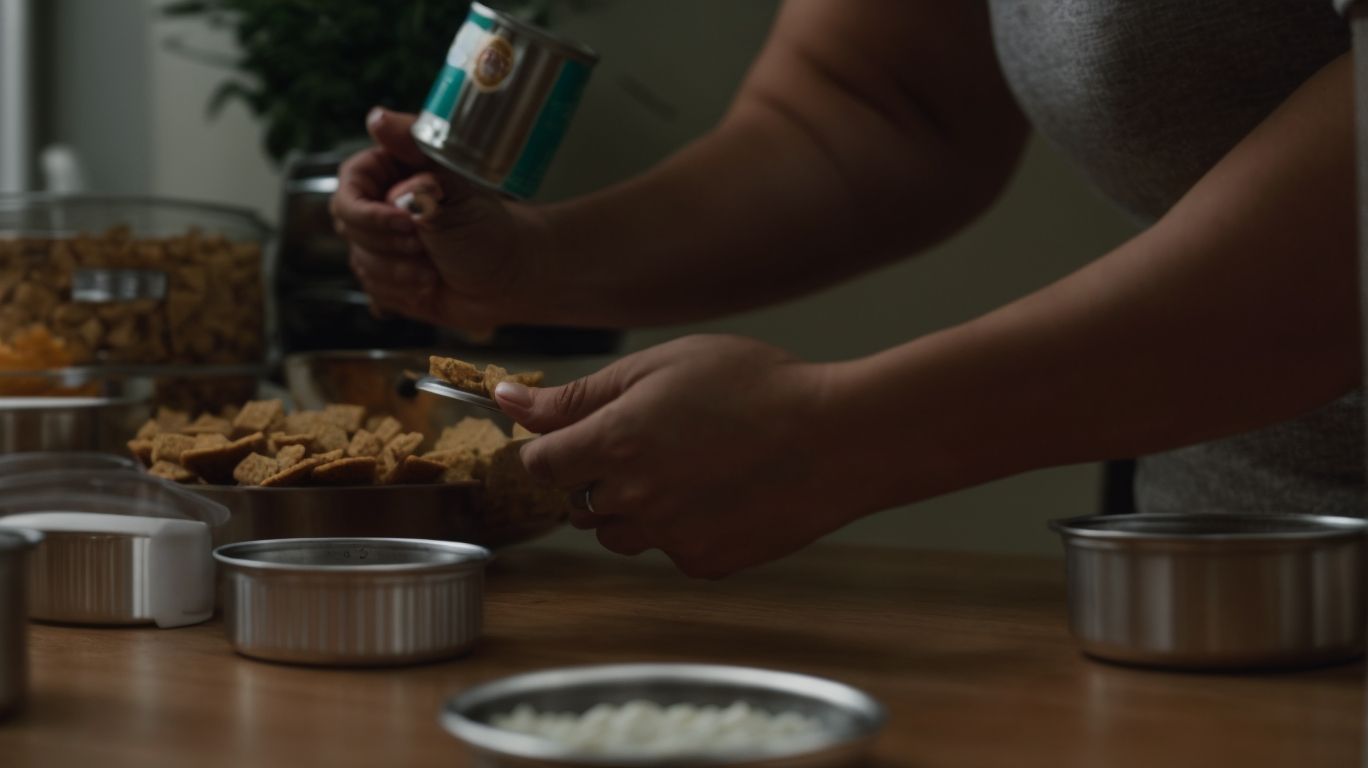
Follow this step-by-step guide to transform canned dog food into delicious homemade treats that your canine companion will love, using simple ingredients and baking techniques.
Begin by preheating the oven to the recommended temperature as per your chosen dog food treat recipe. Then, gather the necessary ingredients such as whole wheat flour, eggs, and, of course, the canned dog food. In a large mixing bowl, combine the flour, eggs, and a portion of the canned dog food to create a dough-like consistency. Once the dough is ready, roll it out on a floured surface and use cookie cutters to shape the treats. Place the treats on a baking sheet lined with parchment paper and bake them in the preheated oven for the specified time or until golden brown. Allow the treats to cool before serving them to your furry friend!
Preheat Your Oven
The first step in baking canned dog food treats is to preheat your oven to the required temperature, ensuring that it is ready for baking the delicious homemade snacks for your pet.
Preheating the oven is a crucial step because it helps in maintaining a consistent temperature throughout the baking process, ensuring that the treats are cooked evenly. This is essential for achieving the perfect texture and taste for your homemade treats.
- By preheating the oven, you give the ingredients the right environment to react and transform into tasty treats, ensuring that they are cooked thoroughly and deliciously.
- Proper temperature control is key to bake dog treats that are safe for your pet to consume, as it ensures that all harmful bacteria are destroyed during the baking process.
- Preheating the oven alerts you when it’s ready to bake, saving you time and ensuring that your treats go into the oven promptly, optimizing the entire baking experience.
Mix Ingredients
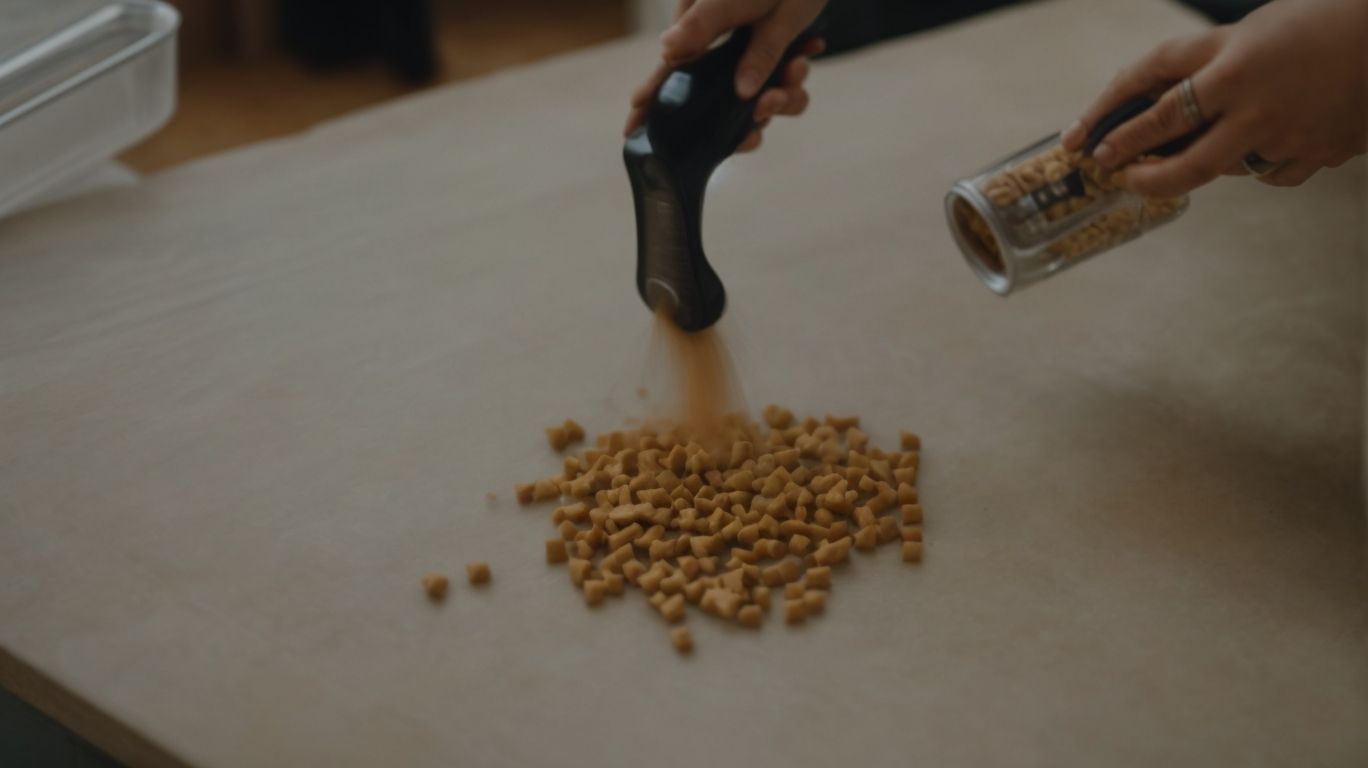
Combine the canned dog food with other ingredients in a mixing bowl or food processor, ensuring that the mixture is well-blended and ready for shaping into delicious treats for your furry friend.
Blending the ingredients thoroughly is essential to ensure a uniform distribution of flavors and nutrients throughout the treats. A food processor can be incredibly helpful in achieving the perfect consistency, especially when dealing with tougher ingredients like oats or shredded carrots. By pulsing the mixture in short bursts, you can gradually bring all the elements together without overworking the dough.
Consistency is key when preparing dog treats. The mixture should be slightly sticky but easy to handle. If it’s too dry, a teaspoon of water can be added to help bind the ingredients together. On the other hand, if the mixture is too wet, incorporating a bit more flour or oats can help thicken it up.
Roll Out Dough
Roll out the prepared dough to the desired thickness for your dog treats, ensuring uniformity and consistency to achieve perfectly baked snacks for your canine companion.
To start the rolling process, place the dough on a floured surface to prevent sticking. Use a rolling pin to gently flatten the dough, applying even pressure to maintain consistency. Aim for a thickness of around 1/4 to 1/2 inch, depending on the recipe and the size of treats you want to create. Remember, thicker dough will result in softer treats, while thinner dough will yield crunchier ones. Ensure the dough is rolled out evenly to ensure uniform baking time and texture throughout the batch.
Cut Out Treats
Use cookie cutters or a knife to cut out shapes or portions of the dough to create individual treats, allowing for customization and personalization in the baking process.
When selecting cookie cutters, try to opt for shapes that are not only cute but also easy for your furry friend to enjoy. Consider using bone, paw, or heart-shaped cutters for a whimsical touch.
For portion control, you can vary the thickness of the dough before cutting. Thinner dough will result in crispier treats, while thicker dough will yield chewier ones.
To add an extra layer of creativity, sprinkle some healthy ingredients like chia seeds, shredded carrots, or parsley on top before baking, not only enhancing the flavor but also the nutritional value of the treats.
Bake and Cool
Bake the cut-out treats in the oven according to the recipe instructions, ensuring they are cooked to perfection, then allow them to cool before serving to your eager canine companion.
When placing the treats in the oven, make sure it is preheated to the correct temperature as specified in the recipe to guarantee even cooking throughout. Monitor the baking duration closely to avoid undercooking or overcooking the treats. Once the timer goes off, remove the treats from the oven and place them on a wire rack to cool. This step is crucial as it helps the treats solidify and develop the desired texture. Let them cool completely before offering the delicious homemade treats to your furry friend.
Storage and Serving Suggestions
Proper storage and serving of homemade dog treats are crucial to maintain freshness and quality, ensuring that your pet enjoys delicious snacks without any compromise on taste or nutrition.
To ensure the longevity of homemade dog treats, it’s essential to store them in airtight containers and keep them away from moisture or direct sunlight. This helps to prevent mold growth and preserve the flavors. Dogs have sensitive stomachs, so it’s recommended to follow vet-approved recipes and use high-quality ingredients for the treats. Vets also suggest serving sizes suitable for your dog’s size and dietary needs to prevent overfeeding. By following these practices, you can provide your furry friend with healthy, tasty treats that they’ll love!
Proper Storage
Store homemade dog treats in airtight containers or freezer bags to maintain freshness and prevent spoilage, following vet recommendations for storage duration and ingredient stability.
Opt for high-quality plastic or glass containers with tight-fitting lids to ensure the treats remain fresh and free from moisture. When using freezer bags, squeeze out excess air before sealing them to prevent freezer burn. Consider dividing the treats into smaller portions before freezing for easier thawing and reducing the risk of contamination during storage. It’s essential to label the containers or bags with the date of preparation to track freshness and adhere to the vet’s recommended storage duration.
Serving Size Recommendations
When serving homemade dog treats, consider the appropriate portion sizes based on your pet’s size, dietary requirements, and vet recommendations to ensure a balanced and enjoyable snacking experience.
It’s essential to remember that healthy dog treats should complement your pup’s regular diet without causing excess weight gain or nutritional imbalances. A general rule of thumb is to offer treats that make up no more than 10% of your dog’s daily caloric intake.
For small breeds, opt for smaller treat sizes or break larger treats into manageable pieces to prevent overfeeding. Larger dogs may require slightly larger portions but still within moderation.
Your vet can offer personalized advice on suitable treat sizes and help tailor a diet plan that incorporates these delicious additions without disrupting your dog’s overall health.
Conclusion: Homemade Dog Treats Are a Fun and Healthy Option for Your Furry Friend
Credits: Poormet.Com – Gregory Clark
Homemade dog treats offer a delightful way to bond with your pet, provide nutritious snacks, and cater to their individual tastes and health needs, ensuring a happy and healthy relationship between you and your furry friend.
Creating homemade dog treats can be an enjoyable activity that allows you to involve your dog in the cooking process, fostering a stronger connection between the two of you. The satisfaction of preparing healthy recipes tailored specifically for your dog can bring a sense of fulfillment and accomplishment. These treats can be customized to meet your dog’s dietary requirements, ensuring they receive nutritious and wholesome snacks that support their overall well-being. Many vets also recommend homemade treats as they allow you to control the quality of ingredients, avoiding any harmful additives commonly found in commercial products.
Frequently Asked Questions
What is the best way to bake canned dog food into treats?
The best way to bake canned dog food into treats is to mix it with some flour and eggs, and then bake it in the oven until it’s cooked through. You can also add in some other ingredients like peanut butter or chicken broth for added flavor and nutrition.
Can I use any type of canned dog food for making treats?
Yes, you can use any type of canned dog food for making treats. Just make sure to choose a high-quality and natural brand that doesn’t have any harmful ingredients for dogs, such as onions or garlic.
How long should I bake canned dog food treats for?
The baking time may vary depending on the size and thickness of your treats, but as a general rule, you can bake them for 20-25 minutes at 350 degrees Fahrenheit. Make sure to check on them periodically to avoid overcooking.
Do I need to add any additional ingredients to the canned dog food for baking?
You don’t necessarily need to add any additional ingredients, but you can if you want to. Some good options are peanut butter, mashed sweet potato, or shredded chicken. These can add flavor and nutrition to the treats.
Can I freeze the baked dog treats for later?
Yes, you can freeze the baked dog treats for later. Just make sure to let them cool down completely before placing them in an airtight container or freezer bag. They can last for up to three months in the freezer.
Are baked canned dog food treats safe for all dogs to eat?
In general, baked canned dog food treats are safe for all dogs to eat. However, it’s always best to consult with your veterinarian before introducing any new treats to your dog’s diet, especially if they have any allergies or health issues.