
How to Bake Queen Cakes?
Are you looking to impress your friends and family with a delightful treat? Look no further than Queen Cakes!
In this article, we will explore the origin and history of Queen Cakes, delve into the key ingredients needed to make them, and provide a step-by-step guide on how to bake these delicious treats.
Whether you’re a baking novice or a seasoned pro, we’ve got you covered with tips for perfecting your Queen Cakes. Plus, we’ll even share some mouth-watering variations to try out.
Get ready to elevate your baking game with our Queen Cakes recipe!
Key Takeaways:
What Are Queen Cakes?
Credits: Poormet.Com – Kenneth White
Queen Cakes are delightful British treats often associated with special occasions like Mothering Sunday or the arrival of spring.
These small cakes are rich in history, dating back to the Victorian era, when they were a favorite treat for afternoon tea parties. Traditionally made with sultanas, currants, and a hint of lemon zest, Queen Cakes have a unique flavor profile that appeals to both young and old alike. The name ‘Queen Cakes’ is said to have originated from the delicate and regal nature of these sweet treats.
Origin and History of Queen Cakes
Queen Cakes have a rich history dating back to the early days of court cookery, with references found in works by culinary experts such as Robert Smith.
The origins of Queen Cakes can be traced to the royal kitchens, where these delightful treats were first created to please the aristocracy and royalty with their exquisite flavors and presentation.
These small, delicate cakes were often served at extravagant banquets, symbolizing elegance and refinement in their intricate designs and ingredients.
Over the centuries, the recipe for Queen Cakes has evolved, adapting to changing tastes and culinary trends while still retaining their essence of sophistication and indulgence.
Ingredients for Queen Cakes
To make delicious Queen Cakes, you will need a combination of butter, sugar, eggs, flour, and a hint of brandy for that extra flavor.
Butter plays a crucial role in providing richness and moisture to the Queen Cakes, creating a tender crumb texture. Sugar is essential not only for sweetness but also to help in tenderizing the crumb and adding a golden color during baking. Eggs act as a binding agent, adding structure and richness to the batter. Flour, the main dry ingredient, provides the necessary structure and stability for the cakes to rise properly in the oven.
While optional, adding a hint of brandy to the batter enhances the overall flavor profile of the Queen Cakes, infusing a subtle boozy undertone that complements the sweetness and richness of the other ingredients.
Butter
Butter is a key ingredient in Queen Cakes, providing richness and flavor to these delightful treats.
Butter not only adds a deliciously creamy element to Queen Cakes but also plays a crucial role in creating their tender crumb texture. The fat content in butter helps to contribute to the cake’s moistness, while the flavor enhances the overall taste experience. As the butter melts during baking, it disperses throughout the batter, ensuring a consistent and velvety finish to each bite.
The butter also aids in achieving that perfect balance of sweetness and richness that makes Queen Cakes so irresistible. Its unique ability to bind with sugar and other ingredients helps in creating a soft and airy consistency, making each bite a true delight.
Sugar
Sugar adds sweetness and moisture to Queen Cakes, balancing the flavor profile of these delectable treats.
Sugar plays a crucial role in the texture of Queen Cakes, helping to create a light and airy crumb that melts in your mouth with each bite. When combined with other key ingredients such as flour, eggs, and butter, sugar contributes to the overall structure and tenderness of the cakes.
The caramelization process that occurs when sugar is baked enhances the depth of flavor in Queen Cakes, imparting a rich and irresistible taste that keeps you coming back for more. It also aids in achieving the desirable golden-brown color on the exterior of the cakes, adding to their visual appeal.
Eggs
Eggs serve as a binding agent and add richness to Queen Cakes, contributing to their moist and tender crumb.
Eggs play a crucial role in enhancing the structure of Queen Cakes by providing stability and promoting a light, airy texture. The proteins in eggs coagulate during baking, helping to set the batter and create a well-rounded shape. Their emulsifying properties also aid in blending the fat with other ingredients evenly, resulting in a smooth batter.
Flour
Flour is the foundational ingredient in Queen Cakes, providing structure and volume to these delightful confections.
Without flour, the cakes would lack the necessary foundation to rise properly and achieve that classic light and fluffy texture. The type of flour used, whether it’s all-purpose, cake flour, or self-rising, significantly impacts the final outcome. It’s essential to measure the flour accurately and sift it to avoid clumps, ensuring a smooth batter consistency. The gluten in the flour plays a vital role in creating the cake’s structure, holding everything together as it bakes. Achieving the right balance of flour in your recipe is key to the success of your Queen Cakes.”
Milk
Milk can be added to Queen Cakes for a touch of richness and moisture, enhancing the overall flavor and texture of these delightful treats.
When incorporating milk into your Queen Cake batter, opt for whole milk for a fuller taste, or try using buttermilk for a subtle tangy flavor twist. The milk not only contributes to the tenderness of the cakes but also helps to bind all the ingredients together, resulting in a moist and perfectly crumbly texture. The creaminess from the milk creates a luxurious mouthfeel, elevating the indulgence of these small confections. Experiment with different types of milk to discover your ideal balance of flavors in these classic cakes.
Baking Powder
Baking powder is a leavening agent that helps Queen Cakes rise and achieve a light, fluffy texture when baked.
When combined with the other dry ingredients like flour, sugar, and salt, baking powder reacts with the wet ingredients in the batter, producing carbon dioxide gas bubbles. These bubbles expand during baking, causing the batter to rise and resulting in that sought-after airy crumb structure. This reaction not only improves the texture but also helps in creating a tender final product.
Vanilla Extract
Vanilla extract adds a subtle yet aromatic flavor to Queen Cakes, enhancing the overall taste and aroma of these delectable treats.
Its fragrant essence not only enriches the batter, but also harmonizes with the buttery notes, creating a symphony of flavors.
The vanilla extract acts as a flavor enhancer, balancing the sweetness and adding depth to each bite.
The warmth and complexity it imparts elevate the sensory experience, making each mouthful a delightful journey of taste and smell.
When combined with ingredients like flour, sugar, and eggs, vanilla extract transforms simple cakes into decadent delights that leave a lasting impression.
Steps to Bake Queen Cakes
Credits: Poormet.Com – Jonathan Campbell
Baking Queen Cakes is a simple and rewarding process that involves a few key steps to achieve delicious results in no time.
To begin, preheat your oven to 180°C and line a muffin tin with cupcake cases.
In a mixing bowl, cream together butter and sugar until light and fluffy. Then, beat in eggs one at a time, ensuring each is fully incorporated. Sift in flour and gently fold it into the mixture along with a splash of milk.
Next, fill each cupcake case two-thirds full with the batter. Bake for around 15-20 minutes until the cakes are golden and a skewer inserted comes out clean. Allow them to cool before enjoying!
Step 1: Preheat the Oven
The first step in baking Queen Cakes is to preheat the oven to the specified temperature, ensuring that it reaches the ideal heat for proper baking.
Preheating the oven is a critical aspect of baking that is often overlooked. This initial step sets the stage for successful baking by allowing the oven to achieve a consistent temperature throughout.
- Temperature control is essential in baking, as it ensures that the ingredients cook evenly and thoroughly.
- Optimal heat settings vary depending on the recipe, but for Queen Cakes, a moderate temperature around 350°F (180°C) is typically recommended.
- By preheating the oven, you create a stable environment for your baked goods, promoting even rising and browning.
Step 2: Cream the Butter and Sugar
Creaming the butter and sugar together is a crucial step in making Queen Cakes, as it helps create a light and airy texture for the final baked goods.
When you cream the butter and sugar, it introduces air into the mixture, which is essential for light and fluffy cakes. The process involves beating the two ingredients together until the mixture becomes pale and fluffy. This incorporation of air traps tiny bubbles in the batter, giving your cakes a tender crumb and ensuring they rise properly during baking.
Consistency is key when creaming butter and sugar; the mixture should be smooth and creamy, with no visible granules of sugar. Room temperature butter is ideal for creaming, as it softens quickly and blends smoothly with sugar, creating a uniform base for your batter.
Step 3: Add the Eggs
Adding eggs to the mixture is the next step in baking Queen Cakes, ensuring proper incorporation and binding for a cohesive batter.
To incorporate the eggs effectively, crack them one at a time into the bowl with the rest of the ingredients, ensuring no shell falls into the mixture. Using a whisk or mixer, gently beat the eggs into the batter until just combined. Overmixing can lead to a tough texture, so it’s crucial to stop as soon as the eggs are fully incorporated. The eggs act as a binder, holding the other ingredients together and contributing to the overall structure and moisture of the cakes.
Step 4: Sift and Add the Dry Ingredients
Sifting and adding the dry ingredients to the batter is a crucial step in baking Queen Cakes, ensuring even distribution and proper leavening.
When sifting the dry ingredients, such as flour, baking powder, and a pinch of salt, you are not only aerating the mixture but also breaking up any clumps that might disrupt the texture of your Queen Cakes.
- Make sure to use the proper leavening agents like baking powder or baking soda to help the cakes rise while baking.
- Once sifted, gently fold the dry ingredients into the wet mixture using a spatula in a circular motion to prevent overmixing, which can lead to a tough texture.
Mastering these techniques will guarantee light and fluffy Queen Cakes every time!
Step 5: Add Milk and Vanilla Extract
Incorporating milk and vanilla extract into the batter adds moisture and flavor complexity to Queen Cakes, enhancing their overall taste and texture.
Regarding adding milk, opt for whole milk for a richer consistency, but you can also use alternatives like almond milk for a unique twist. The milk not only provides moisture to the batter but also helps in binding all the ingredients together, resulting in a more cohesive mixture.
Vanilla extract is a key player in enhancing the aroma of Queen Cakes, filling your kitchen with a delightful scent while they bake. To ensure a balanced flavor profile, use pure vanilla extract rather than artificial alternatives, as it brings out the natural sweetness of the other ingredients.
When combining the milk and vanilla extract, gradually incorporate them into the dry ingredients to achieve a smooth batter. Be mindful not to overmix, as this can lead to tough cakes. Striking the right balance in the mixture will result in beautifully moist and aromatic Queen Cakes that are sure to impress.
Step 6: Bake the Cakes
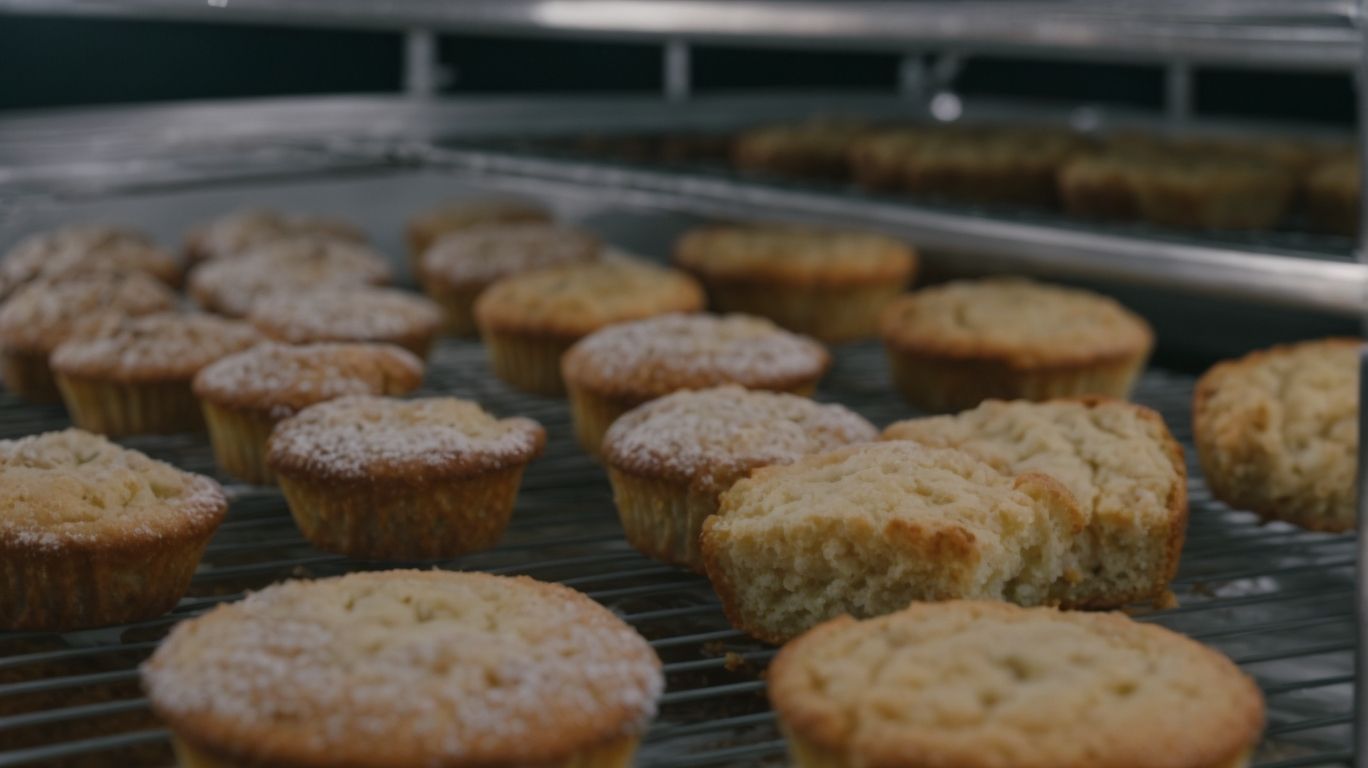
Baking the prepared batter in the oven results in beautifully golden Queen Cakes, ready to be enjoyed after the specified cook time.
Preheat your oven to 350°F (180°C) to ensure the ideal baking environment for your Queen Cakes. Once the oven reaches the desired temperature, carefully place the filled cupcake liners or molds on the middle rack for even heat distribution.
Bake the Queen Cakes for approximately 15-20 minutes, but keep a close eye on them towards the end. You’ll know they’re ready when a toothpick inserted into the center comes out clean, with only a few moist crumbs attached.
Upon removing them from the oven, let the Queen Cakes cool in the pan for a few minutes before transferring them to a wire rack to cool completely. This final step ensures a moist and delicious outcome for your delightful treats.
Tips for Perfect Queen Cakes
Achieving perfection with your Queen Cakes is possible with a few expert tips and tricks that elevate the baking experience and results.
Ensuring top-notch quality ingredients like premium butter, fresh eggs, and vanilla extract is crucial for flavorful and moist Queen Cakes. Regarding mixing, gently fold in the dry ingredients to avoid overmixing, which can lead to tough cakes. Utilizing tools like a stand mixer or hand whisk can help create a light and airy batter. To customize your Queen Cakes, consider adding a sprinkle of lemon zest for a citrusy twist or incorporating chocolate chips for a decadent touch.
Variations of Queen Cakes

Credits: Poormet.Com – Noah Roberts
Explore the diverse world of Queen Cakes with exciting variations such as Chocolate Queen Cakes, zesty Lemon Queen Cakes, and fruity Raspberry Queen Cakes.
Each variation of Queen Cakes brings a unique twist to the traditional recipe. For the Chocolate Queen Cakes, rich cocoa powder is incorporated into the batter, creating a decadent treat for chocolate lovers. The zesty Lemon Queen Cakes are made by adding freshly grated lemon zest and a hint of lemon juice, providing a refreshing and citrusy flavor profile. On the other hand, the Raspberry Queen Cakes feature sweet and tangy raspberries folded into the batter, offering bursts of fruity goodness in every bite.
Chocolate Queen Cakes
Indulge your sweet tooth with Chocolate Queen Cakes, a decadent twist on the classic recipe featuring rich cocoa flavors and a luscious chocolatey finish.
These delectable treats are simple to make but will impress any chocolate lover. Begin by preheating your oven and lining your cupcake tin with paper cases. In a mixing bowl, combine flour, cocoa powder, sugar, baking powder, and a pinch of salt, whisking them together for a smooth consistency. Melt butter and dark chocolate in a saucepan, then stir in milk and beaten eggs. Fold this velvety mixture into the dry ingredients, adding a handful of chocolate chips for a gooey surprise.
Once the batter is ready, spoon it into the cupcake cases and bake until risen and firm to the touch. The key to achieving a moist texture is not to overbake; a slightly gooey center is what you’re looking for. Let the Chocolate Queen Cakes cool before devouring them with a cup of coffee or a glass of milk, savoring each bite of the rich, chocolatey goodness.
Lemon Queen Cakes
Brighten up your day with Lemon Queen Cakes, infused with zesty lemon flavors and a refreshing citrus twist that elevates the traditional recipe.
When incorporating lemon zest into the batter, remember to finely grate the outer layer of the lemon for its aromatic oils, providing a burst of freshness in each bite. A splash of freshly squeezed lemon juice not only adds brightness but also helps balance the sweetness of the cake batter, creating a harmonious blend of flavors.
To intensify the tangy essence, consider adding a hint of orange zest or lime juice to complement the lemon, enhancing the overall citrus profile of the cakes. The combination of different citrus elements adds depth and complexity, making each bite a delightful experience.
Raspberry Queen Cakes
Experience a burst of fruity sweetness with Raspberry Queen Cakes, featuring juicy raspberries that add a delightful twist to the traditional recipe.
These delectable treats are a perfect blend of sweet and tart flavors, with the raspberries providing a burst of freshness in every bite.
Whether you choose to use fresh raspberries for a vibrant flavor or opt for frozen ones for convenience, Raspberry Queen Cakes are a versatile dessert that never fails to please.
To enhance the raspberry essence, consider incorporating raspberry preserves or a raspberry drizzle to add an extra layer of richness.
When balancing sweetness and tartness, adjusting the amount of sugar in the batter and carefully selecting the right type of raspberries are key to achieving the perfect harmony of flavors in these delightful cakes.
Frequently Asked Questions
$
What are Queen Cakes and how do you bake them?
Queen Cakes are a classic British treat, similar to cupcakes but with a lighter texture and delicate flavor. To bake them, you will need basic ingredients such as flour, sugar, butter, eggs, and baking powder.
What is the key to baking perfect Queen Cakes?
The key to baking perfect Queen Cakes is to make sure your ingredients are at room temperature and to not overmix the batter. This will ensure a light and fluffy texture.
Can I use different types of flour when making Queen Cakes?
Yes, you can use different types of flour such as all-purpose, self-raising, or cake flour. However, the type of flour will affect the texture and rise of the cakes, so make sure to follow the recipe closely.
How important is it to cream the butter and sugar when making Queen Cakes?
Creaming the butter and sugar until light and fluffy is crucial in creating a light and airy texture for Queen Cakes. This step adds air to the batter, resulting in a delicate crumb.
Do I need any special equipment to bake Queen Cakes?
No, you do not need any special equipment to bake Queen Cakes. A mixing bowl, hand mixer or whisk, and a muffin tin are all you need to make these delicious treats.
Can I add flavorings or toppings to Queen Cakes?
Absolutely! You can get creative with your Queen Cakes by adding different flavorings such as citrus zest or extracts, and toppings like frosting, sprinkles, or fresh fruit. Just make sure to adjust the measurements accordingly.