How to Cook a Turkey and for How Long?
Are you ready to cook the perfect turkey this holiday season?
This comprehensive guide will walk you through everything you need to know, from preparing the turkey with the right seasonings to cooking it to perfection in the oven.
We’ll cover essential tools like a roasting pan and meat thermometer, as well as tips for avoiding common pitfalls like a dry or overcooked turkey.
Get ready to impress your guests with a delicious and beautifully cooked turkey!
Key Takeaways:
What You Will Need
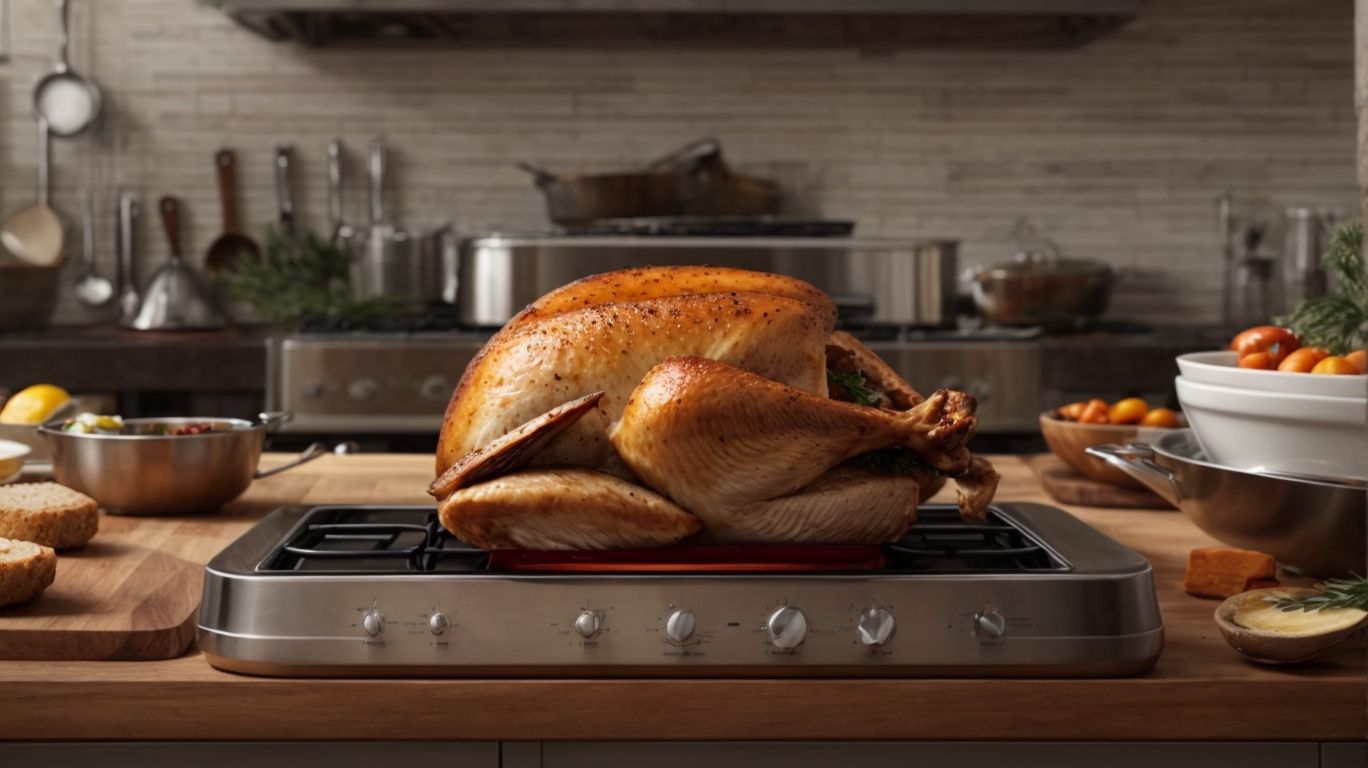
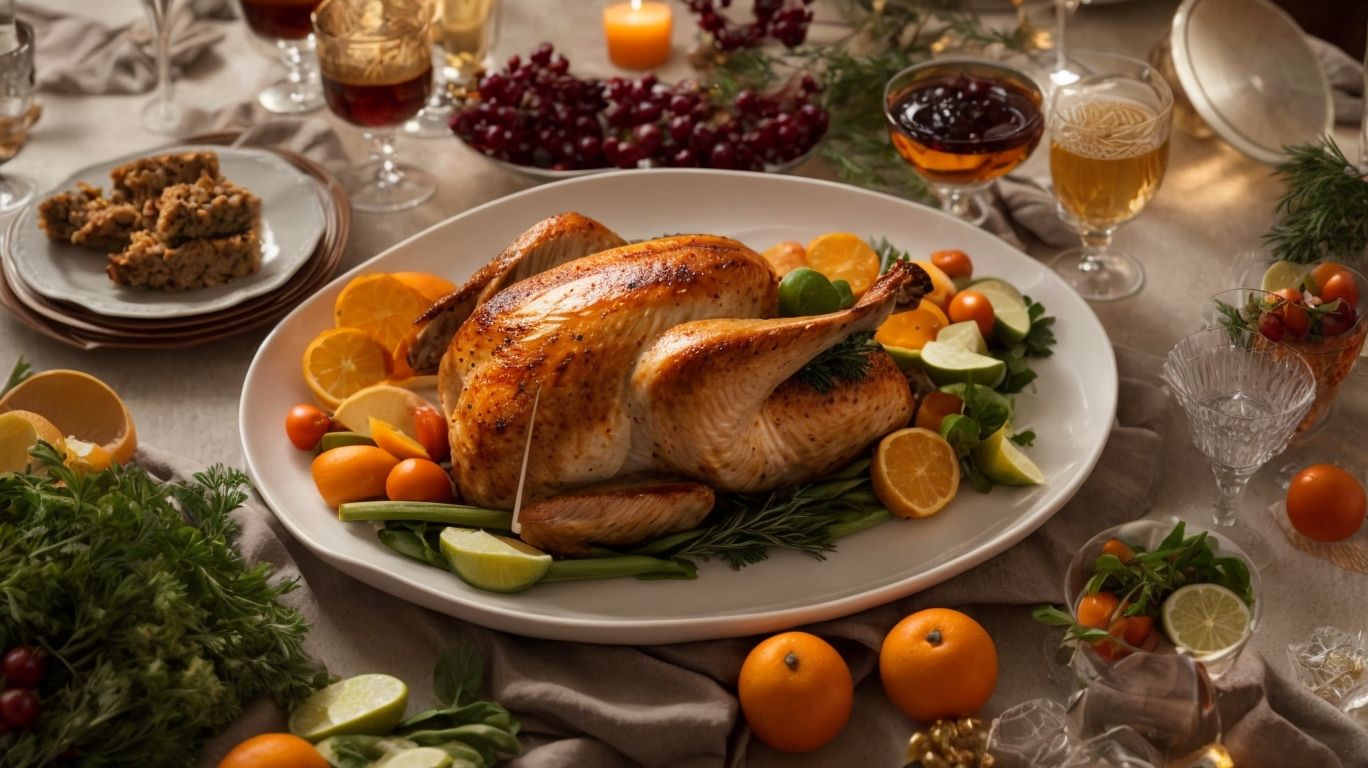
Credits: Poormet.Com – Richard Moore
To prepare a delicious Thanksgiving turkey, you will need essential ingredients and tools to ensure a flavorful and juicy outcome.
One vital ingredient for a tasty roast is a high-quality turkey. Ensure you select a fresh, thawed turkey of the right size for your gathering. Along with the turkey, seasonings play a crucial role in enhancing the flavor. Ingredients like salt, pepper, herbs, and aromatics such as garlic and onions contribute to the savory profile of the dish.
In terms of tools, a roasting pan with a rack is essential for even cooking. A baster and kitchen twine are also essential for basting and trussing the turkey, respectively. A reliable meat thermometer ensures the turkey is perfectly cooked, tender, and safe to eat. Don’t forget oven mitts and carving knives for a seamless cooking experience.
Turkey
Selecting the perfect turkey is crucial for your Thanksgiving feast, ensuring a succulent and flavorful centerpiece for your meal.
When choosing your turkey, weight plays a significant role in determining cooking time and portion sizes. A good rule of thumb is to calculate about 1 to 1.5 pounds of turkey per person. Consider opting for a whole bird rather than just a breast to capture the full spectrum of flavors and textures. Brining the turkey can enhance its juiciness and add depth to its taste – you can experiment with various brine recipes, incorporating ingredients like herbs, spices, and citrus for a customized touch.
Seasonings and Herbs
Seasonings and herbs play a vital role in enhancing the taste and tenderness of your Thanksgiving turkey, adding layers of flavor to every bite.
In terms of seasoning your turkey, the combination of kosher salt and freshly ground black pepper forms the base of flavor enhancement. The salt not only brings out the natural flavors of the bird but also acts as a tenderizer, making the meat juicier and more succulent. Pairing these classic seasonings with a thoughtfully curated spice mix can elevate the taste even further, creating a harmonious blend of aromas that permeate the entire dish.
Herbs like rosemary, thyme, and sage can add earthy undertones and a refreshing herbal essence to the turkey, balancing out the richness of the meat. These herbs not only contribute to the overall flavor profile but also bring a visual appeal with their vibrant green colors, enhancing the presentation of your Thanksgiving centerpiece.
Roasting Pan
A high-quality roasting pan is essential for achieving a perfectly cooked turkey with a golden-brown, crispy skin and a succulent, juicy interior.
When cooking a Thanksgiving turkey, the choice of roasting pan can significantly impact the final result. The roasting pan provides even heat distribution, ensuring that the bird cooks uniformly and the skin crisps up beautifully. This results in that coveted golden-brown exterior that not only looks appetizing but also adds a depth of flavor. The design of the pan allows for basting juices to accumulate at the bottom, enhancing the turkey’s juicy interior as it roasts.
Meat Thermometer
Using a reliable meat thermometer is crucial to ensure your turkey reaches the safe internal temperature recommended by the USDA for a perfectly cooked bird.
In terms of cooking poultry, especially large birds like turkey, achieving the right temperature is key to both taste and most importantly, food safety. By using a meat thermometer, you can eliminate any guesswork and uncertainty, ensuring that your turkey is cooked through to the right internal temperature, killing any harmful bacteria. The USDA recommends that a turkey should reach an internal temperature of 165°F to be safe for consumption. Without a thermometer, it’s easy to undercook or overcook the bird, potentially putting your health at risk.
How to Prepare the Turkey

Credits: Poormet.Com – Brandon Rodriguez
Properly preparing the turkey involves thawing, cleaning, and seasoning the bird to enhance its flavor and juiciness.
Thawing the turkey is a crucial step to ensure even cooking. The safest way to thaw a turkey is in the fridge. Allow approximately 24 hours of defrosting time for every 4-5 pounds of bird. Once thawed, remove the giblets and neck from the cavity. Cleaning the turkey involves rinsing it thoroughly under cold water, both inside and out.
After cleaning, pat the turkey dry with paper towels to remove excess moisture. Seasoning the turkey is where you can get creative. Consider using a blend of herbs, spices, and seasoning rubs to add depth of flavor. Rub the mixture both under the skin and on top for maximum taste.
Thawing the Turkey
Thawing the turkey in the refrigerator is the safest and most effective method to ensure even defrosting without compromising the meat quality.
When thawing a turkey in the refrigerator, it’s crucial to allow ample time for the process. A general rule of thumb is to allocate 24 hours of thawing time per 5 pounds of turkey. For example, a 15-pound turkey would require approximately 3 days to thaw completely in the fridge. This slow, cold-water thawing method helps maintain the turkey’s flavor and texture by preventing bacterial growth. Remember to place the turkey on a tray or in a pan to catch any juices that may drip during the thawing process.
Cleaning the Turkey
Thoroughly cleaning the turkey involves removing giblets, rinsing the bird, and ensuring the cavity is free of any unwanted residue.
Carefully reach into the cavity of the turkey to extract the giblets, which typically include the heart, liver, gizzard, and neck. Set these aside for later preparation or discard if not needed.
Next, rinse the turkey under cool running water, both inside and out, to wash away any remaining blood or bone fragments. It is crucial to pat the bird dry with paper towels afterward to remove excess moisture.
Remember to sanitize all surfaces and utensils used in the cleaning process to uphold proper hygiene standards.
Seasoning the Turkey
Seasoning the turkey with a blend of kosher salt, black pepper, herbs, and spices ensures a flavorful and aromatic roast that will delight your senses.
For a well-seasoned turkey, start by patting the turkey dry with paper towels to help the seasoning stick better. Combine herbs like rosemary, thyme, and sage with your favorite spice mix in a bowl, ensuring an even distribution of flavors. Kosher salt is essential for drawing out moisture from the turkey, allowing the flavors to penetrate deeply. Rub the seasoning mixture generously both inside the cavity and all over the turkey’s skin for a balanced taste throughout.
How to Cook the Turkey
Credits: Poormet.Com – Matthew Lopez
Cooking the turkey to perfection involves following a precise method, preheating the oven, and monitoring the temperature throughout the cooking process.
One of the critical steps in preparing a succulent turkey is to preheat the oven before placing the bird inside. Preheating ensures that the turkey starts cooking immediately at the desired temperature, locking in the juices and flavors. To achieve this, set your oven to the recommended temperature according to the recipe or around 325°F. A handy tip is to use an oven thermometer to verify the accuracy of the temperature. Once the oven is properly preheated, carefully position the turkey in the center of the oven for even heat distribution.
Preheating the Oven
Preheating the oven to the recommended temperature is crucial for achieving a golden-brown, crispy skin on your turkey while ensuring even cooking.
When the oven is preheated, it allows for the turkey to start cooking immediately upon entering the heat, which is essential for developing that desired crispy exterior. This initial high heat sears the outside of the turkey, sealing in the juices and creating that mouthwatering crunch when you carve into it. A properly preheated oven also helps maintain a consistent temperature throughout the cooking process, preventing undercooked or overcooked spots. Not only does preheating contribute to the texture and color of the turkey, but it also impacts the overall cook time, ensuring that your bird cooks through evenly and efficiently.
Placing the Turkey in the Roasting Pan
Carefully placing the seasoned turkey in the roasting pan sets the stage for a succulent, juicy bird that will be the highlight of your Thanksgiving table.
After positioning the turkey in the roasting pan, the next crucial step in achieving that delectable juiciness is basting. Regularly basting the turkey by using the natural juices and melted fat from the bird not only adds flavor but also helps keep the meat moist throughout the cooking process.
As the turkey roasts, the basting not only infuses the meat with additional layers of flavor but also forms a beautiful golden crust on the exterior, enhancing both taste and presentation. The succulence of a well-basted turkey is truly unmatched, with each tender slice promising to impress even the most discerning palate.
Cooking Time and Temperature
Monitoring the cooking time and internal temperature of the turkey is essential to ensure a safe and delicious outcome that meets USDA guidelines.
Properly monitoring the turkey’s cooking time and temperature helps prevent foodborne illnesses by ensuring that the meat reaches the recommended safe internal temperature.
The USDA guidelines suggest cooking a whole turkey to an internal temperature of 165°F (73.9°C) in the innermost part of the thigh and wing as well as the thickest part of the breast.
Timing is crucial too, as undercooked poultry can harbor harmful bacteria such as salmonella or campylobacter.
Basting the Turkey
Basting the turkey with its own savory juices enhances the flavor and moisture of the meat, resulting in a succulent and delicious centerpiece for your Thanksgiving meal.
This traditional cooking technique involves using a spoon, baster, or brush to drizzle the turkey’s pan drippings over the bird periodically throughout the roasting process. As the juices trickle down, they envelop the turkey in a flavorful bath, infusing every fiber with rich taste. The constant application of these succulent liquids not only imparts a delectable essence but also helps lock in moisture, ensuring that each bite remains juicy and tender. This process creates a perfect base for gravy that captures all the delicious essence of the turkey, enhancing your dining experience.
How to Tell When the Turkey is Done
Credits: Poormet.Com – Eric White
Determining when the turkey is perfectly cooked involves using visual cues, a meat thermometer, and checking for clear juices to ensure a delicious and safe outcome.
When using a meat thermometer, aim for an internal temperature of 165°F (74°C) in the thickest part of the bird, ensuring the turkey is thoroughly cooked. Inspect the color of the turkey’s skin; it should be golden brown. Juices should run clear when you pierce the turkey with a fork, indicating proper cooking. Remember to let the turkey rest for about 20-30 minutes after removing it from the oven, allowing the juices to redistribute within the meat for optimal flavor and tenderness.
Using a Meat Thermometer
Utilizing a meat thermometer to check the internal temperature of the turkey is a foolproof method recommended by the USDA for ensuring food safety and optimal doneness.
When using a meat thermometer, the key is to insert it into the thickest part of the turkey without touching the bone as this can give an inaccurate reading. The USDA advises that the turkey should reach an internal temperature of 165°F to be safely consumed. This ensures that any harmful bacteria present in the turkey are destroyed, reducing the risk of foodborne illnesses. By following these guidelines, you can confidently prepare a delicious and safe turkey for your holiday feast.
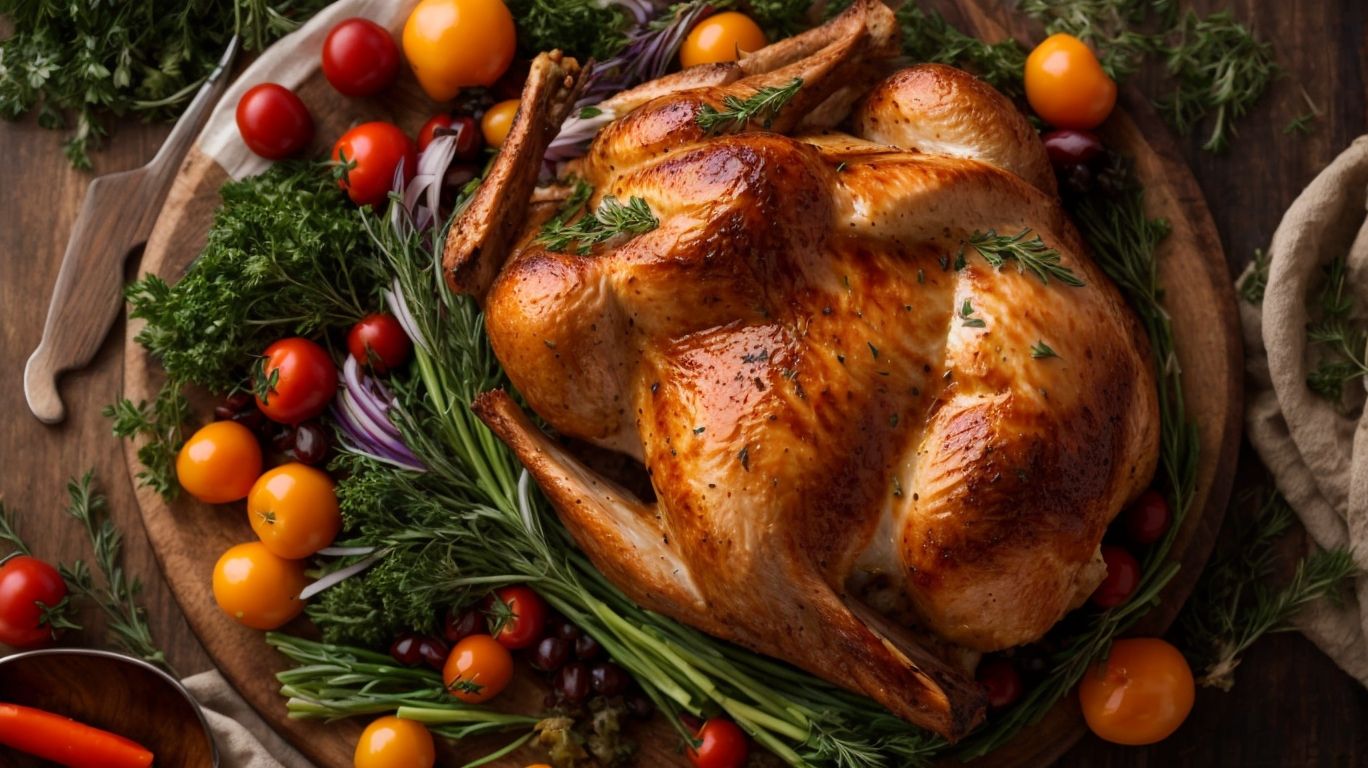
Checking the Color of the Meat
Observing the color of the meat, aiming for a golden-brown and crispy exterior, is a visual indicator of the turkey’s readiness and desired texture.
When the turkey reaches the ideal golden-brown hue, it signifies that the outer layer has crisped up to perfection, locking in the succulent juices within.
Make sure the skin is evenly browned all over, providing a delicious crunch when bitten into.
A crispy texture on the surface indicates the caramelization of natural juices, enhancing the overall flavor profile of the turkey.
Checking for Juices Running Clear
Checking for clear juices running from the turkey is a sign of succulence and flavor, indicating that the meat is perfectly cooked and ready to be enjoyed.
When the turkey is cooked to perfection, these clear juices not only ensure a satisfyingly moist and tender texture but also play a crucial role in the overall taste experience. These natural juices are a crucial ingredient in making a flavorful gravy that complements the meat impeccably.
Clear juices are a clear indicator of a mouthwatering and delicious turkey, promising a memorable culinary experience. It’s these subtle details that elevate a simple meal into a feast for the senses.
Resting and Carving the Turkey
Allowing the turkey to rest before carving is essential to retain its juices, ensuring a succulent and flavorful meat that will impress your guests.
When a turkey is taken out of the oven, it’s still cooking internally even though the heat source has been removed. Letting it rest for approximately 20-30 minutes allows the juices to redistribute, resulting in a moister and more tender meat. During this time, the residual heat continues to gently cook the turkey, further enhancing its overall succulence and taste.
Carving into a turkey immediately after cooking can cause all the flavorful juices to rush out, leaving the meat dry and less appealing. By practicing patience and letting the turkey rest, you preserve those essential juices within the meat, ensuring a delicious dining experience for all.
Letting the Turkey Rest
Allowing the turkey to rest after cooking lets the juices redistribute, resulting in a succulent, tender, and flavorful meat that is a delight to carve and savor.
When the turkey is allowed to rest, it gives time for the muscle fibers to relax, leading to a more tender texture. This process also helps in retaining those delicious juices within the meat, ensuring each bite is bursting with flavor. Letting the turkey rest allows the flavors to meld and develop, creating a more cohesive and rich taste profile throughout the entire bird. In the end, this simple step can make a world of difference in the overall dining experience, making the turkey not just a meal, but a memorable feast.
Carving the Turkey
Mastering the art of carving the turkey into perfect slices enhances its presentation and ensures each guest receives a flavorful portion for their meal.
Begin by placing the rested turkey on a sturdy cutting board, breast side up. Utilize a sharp carving knife to start by removing the legs, then separate the thighs from the drumsticks. Next, gently slice the breast meat against the grain into even thin pieces to preserve tenderness and juiciness.
Arrange the slices neatly on a serving platter to create an inviting display. Don’t forget to include the drumsticks and thighs for variety. Remember, the way you carve the turkey can significantly impact the overall dining experience by ensuring everyone gets a generous portion.
Troubleshooting and Tips
Credits: Poormet.Com – Noah Jones
Encountering common turkey cooking issues such as dryness, overcooking, or undercooking can be addressed with the right tips and solutions to ensure a moist and perfectly cooked bird.
One common reason for dryness is leaving the turkey in the oven for too long without proper monitoring. To prevent this, use a meat thermometer to check the internal temperature regularly.
For those facing overcooking, a useful tip is to cover the turkey with aluminum foil during cooking to retain moisture and prevent excessive browning on the skin.
If you find your turkey undercooked, a quick solution is to slice the bird into smaller pieces and return them to the oven until cooked to the desired texture.
Dry Turkey
Dealing with a dry turkey can be remedied through brining or using additional moisture-enhancing techniques to restore tenderness and juiciness to the meat.
Brining involves soaking the turkey in a saltwater solution to lock in moisture and enhance flavor. This process helps the meat retain its natural juices, resulting in a moist and flavorful turkey.
Techniques like basting the turkey with a mixture of broth and butter during cooking can also help keep the meat juicy and tender. Ensuring the turkey is not overcooked and using a meat thermometer to accurately gauge doneness are crucial steps in achieving a succulent bird.
Overcooked Turkey
An overcooked turkey can result in dry meat, but with proper carving techniques and using a thermometer, you can salvage the meal and serve a delicious dish.
When dealing with an overcooked turkey, it’s essential to approach the situation strategically. One effective method is to carve the turkey into smaller pieces, which can help retain moisture and tenderness. By slicing the meat thinly and against the grain, you can counteract the dryness often associated with overcooked poultry.
Monitoring the internal temperature of the turkey throughout the cooking process is crucial. This ensures that the meat is cooked to perfection without being overdone. Investing in a reliable thermometer can be a game-changer when it comes to achieving a juicy and flavorful turkey.
Undercooked Turkey
Addressing an undercooked turkey requires checking the internal temperature with a thermometer and allowing it to finish cooking properly to ensure a moist and safe meal.
When handling an undercooked turkey, accurate temperature checking is crucial to avoid any health risks.
Once you determine that it needs more cooking time, one method to ensure that the bird finishes cooking evenly is to tent it with foil to retain moisture while preventing the outer parts from overcooking. Lowering the oven temperature and cooking the turkey more slowly can help achieve the desired result. Remember, patience is key in this process to maintain a moist and delicious turkey for your meal.
Frequently Asked Questions
How long should I cook my turkey for and at what temperature?
The cooking time and temperature for a turkey depends on its weight. As a general rule, cook your turkey at 325°F for 15-20 minutes per pound. A meat thermometer should read 165°F in the thickest part of the turkey for it to be fully cooked.
How do I know when my turkey is fully cooked?
The best way to ensure your turkey is fully cooked is by using a meat thermometer. Insert the thermometer into the thickest part of the turkey (usually the thigh) and make sure it reads 165°F. If the turkey is stuffed, the stuffing should also reach 165°F.
How should I prepare my turkey before cooking?
Before cooking, make sure to remove any giblets or neck from the turkey’s cavity. Rinse the turkey with cold water and pat it dry with paper towels. You can also rub the turkey with salt, pepper, and any desired herbs or spices for extra flavor.
Should I stuff my turkey before cooking?
It is not recommended to stuff your turkey before cooking. The stuffing may not reach a safe temperature, resulting in an undercooked and potentially unsafe turkey. Instead, cook the stuffing separately in a casserole dish.
How often should I baste my turkey while cooking?
Basting is not necessary for a moist and flavorful turkey. In fact, opening the oven door to baste the turkey can cause the oven temperature to drop and prolong the cooking time. However, if you prefer to baste, do it every 30 minutes.
Can I cook a frozen turkey?
It is not recommended to cook a frozen turkey as it can increase the risk of bacteria growth. It is best to thaw the turkey completely in the refrigerator before cooking. If you are short on time, you can also thaw the turkey in cold water, changing the water every 30 minutes.