How to Cook Bacon in the Oven Without Making a Mess?
Are you tired of dealing with splattering grease and a messy stovetop every time you cook bacon? Look no further!
In this article, we will show you how to cook bacon in the oven, resulting in perfectly crispy strips without the hassle. From the necessary tools needed to the step-by-step process and tips for achieving the perfect bacon, we’ve got you covered.
Say goodbye to the mess and hello to delicious oven-cooked bacon!
Key Takeaways:
1.
2.
3.
Why Cook Bacon in the Oven?
Cooking bacon in the oven offers a hassle-free way to achieve crispy and delicious results without the mess of stovetop splatter.
One of the main benefits of cooking bacon in the oven is the convenience it provides. By using this method, you can avoid constantly flipping the bacon strips, allowing you to multitask and make other parts of your meal simultaneously. Oven-cooked bacon tends to be more consistently crispy as the heat circulates evenly around the strips, ensuring each piece reaches the desired level of crispiness. The cleanup is much easier when using the oven, as there is less bacon grease splatter to deal with compared to stovetop cooking. This method not only saves time but also reduces the post-cooking mess significantly.
What Do You Need to Cook Bacon in the Oven?
To cook bacon in the oven efficiently, you’ll need a few essential items like oven-safe bacon and a sturdy baking sheet.
Preheat your oven to 400°F for optimal results. While laying a sheet of aluminum foil over the baking sheet ensures easy cleanup, it also aids in preventing any bacon grease from sticking. Arrange the bacon slices in a single layer on the baking sheet, allowing for even cooking and crispy results.
Cook the bacon in the preheated oven for approximately 18 mins, or until desired crispiness. The oven method allows for cooking large batches at once, perfect for meal prepping for up to 5-7 days worth of bacon in just one go.
Baking Sheet or Pan
The first step in preparing oven-cooked bacon is selecting a suitable baking sheet or pan that can accommodate the desired number of bacon slices for a large batch.
Choosing the right size baking sheet is crucial to ensure proper heat distribution and prevent overcrowding. Allow space between each slice to ensure they cook evenly and get crispy.
For a standard baking sheet, it’s recommended to lay out 4 to 6 slices, depending on their size. This allows the bacon to cook uniformly without the strips sticking together or steaming in their excess bacon grease.
Foil or Parchment Paper
Using aluminum foil or parchment paper on the baking sheet is crucial for easy cleanup and preventing the bacon from sticking during the oven cooking process.
These kitchen staples have remarkable non-stick properties, ensuring that your oven-baked slices of bacon effortlessly slide off the surface, ready to be devoured.
The grease absorption feature of aluminum foil or parchment paper helps in reducing the fat content of the bacon, making it a healthier option without compromising on flavor.
The simplicity in handling these tools provides a stress-free cooking experience – simply line your baking sheet, lay out the bacon strips evenly, pop them in the preheated oven at 375°F, and in just around 20 minutes, you’ll have perfectly crispy bacon without the mess!
Cooling Rack
A cooling rack is an essential tool for oven-cooked bacon as it allows the rendered bacon grease to drip away, ensuring optimal crispiness and reducing excess grease.
By elevating the bacon slices off the baking sheet, the cooling rack promotes airflow, resulting in evenly cooked and crispy bacon strips. This method is not only efficient but also easy to follow – simply preheat the oven to 450°F, lay the bacon on the rack, and bake for around 12 minutes. Plus enhancing the texture, the rack prevents the bacon from sitting in its own grease, making it a healthier alternative to pan-frying. The end result is perfectly cooked bacon with a delightful crunch and minimal cleanup required.
Tongs
Using tongs for flipping the bacon during the cooking process helps ensure even crispiness and allows for easy handling in the hot oven.
Regarding achieving that perfect crunch in every bite, the use of tongs plays a vital role in managing the bacon slices effectively. Start by positioning the bacon strips on a lined baking sheet, ensuring they are not overlapping to ensure uniform cooking. Halfway through the cooking time, gently flip each slice using the tongs to ensure that both sides are evenly exposed to the heat. This action not only guarantees a consistent level of crispiness but also helps prevent the slices from sticking to the pan.
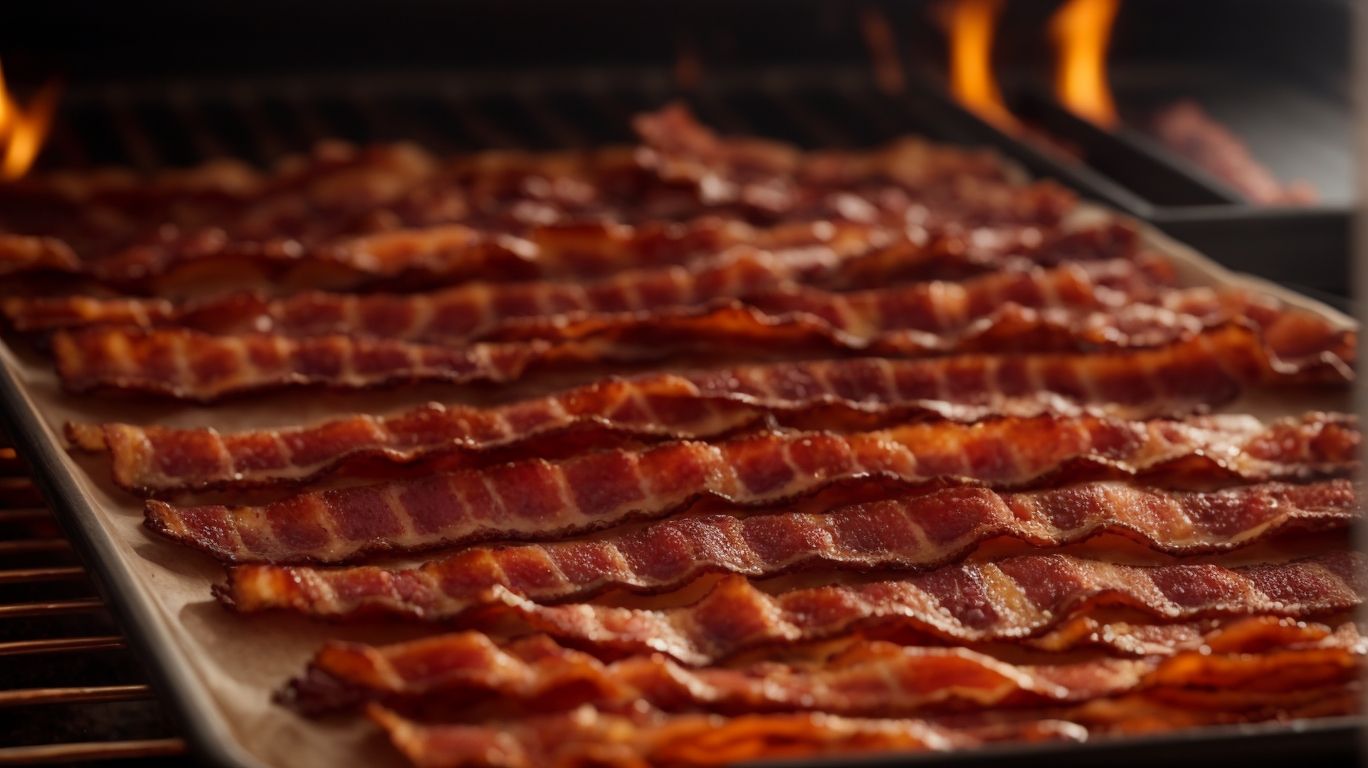
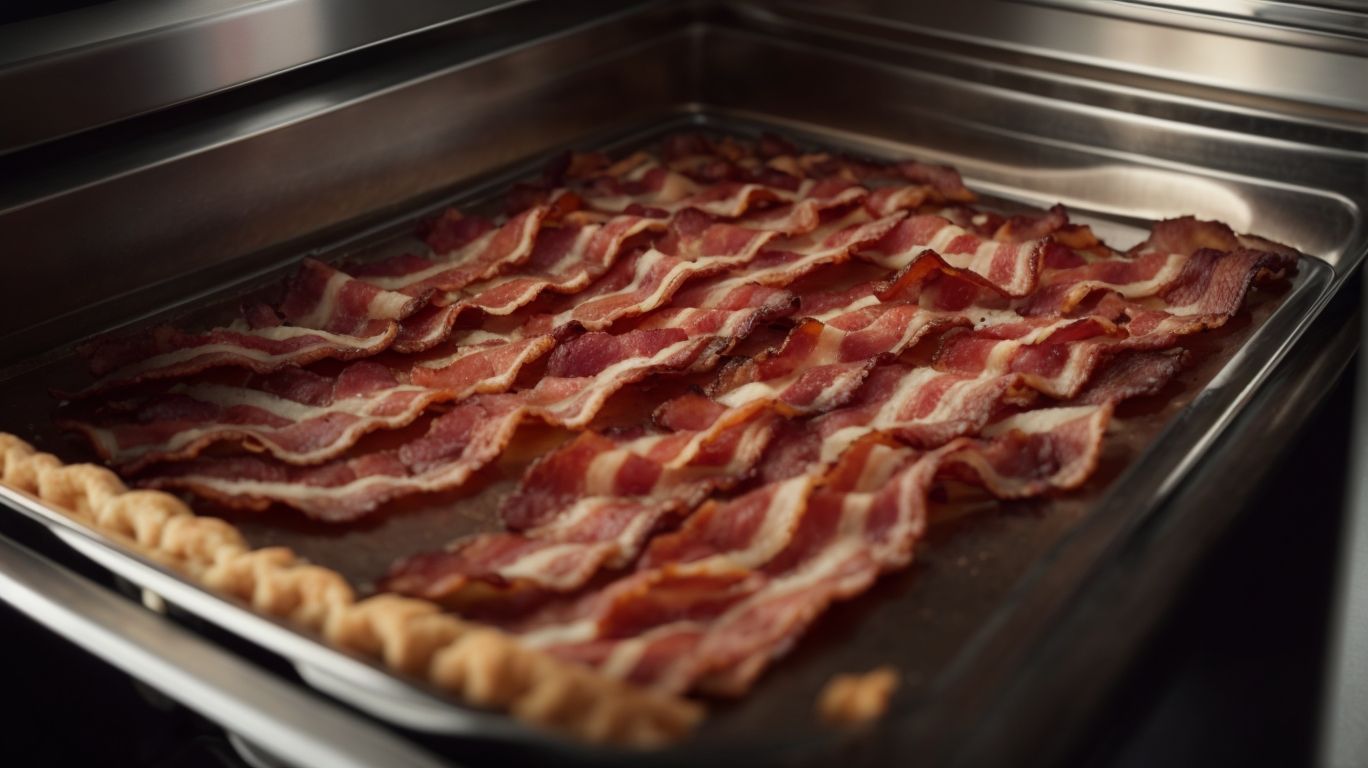
Steps for Cooking Bacon in the Oven
Credits: Poormet.Com – Douglas Hill
To cook bacon in the oven effectively, follow these step-by-step instructions that ensure perfectly cooked, crispy bacon slices.
Begin by preheating the oven to 425°F, allowing it to reach the desired temperature for optimal bacon cooking results. While waiting for the oven to heat up, prepare a baking sheet by lining it with parchment paper or aluminum foil to minimize sticking and make cleaning up easier after.
Next, lay out the bacon strips on the prepared baking sheet, ensuring they are evenly spaced without overlapping to allow for proper heat circulation and even cooking. Place the baking sheet in the preheated oven and let the bacon cook for approximately 23 mins until it reaches the desired level of crispiness.
Once the bacon is cooked to perfection, carefully remove the baking sheet from the oven and use tongs to transfer the bacon strips onto a paper towel-lined plate to drain excess grease.
Preheat the Oven
The initial step in cooking bacon in the oven is to preheat the oven to the recommended temperature, ensuring optimal cooking conditions for the bacon slices.
Preheating the oven before cooking bacon is crucial as it allows the bacon to start cooking immediately upon entering the oven, leading to crispier and evenly cooked slices.
The recommended temperature for preheating the oven for oven-cooked bacon is typically around 400°F (200°C).
It is advisable to preheat the oven for approximately 10-15 minutes to ensure it reaches the desired temperature evenly throughout.
Preheating not only aids in achieving the desired texture and flavor but also ensures efficient cooking that reduces overall cooking time.
Prepare the Baking Sheet
Preparing the baking sheet involves arranging the bacon strips neatly, ensuring proper spacing to allow for even cooking and optimal bacon grease drainage.
Properly spaced bacon strips on the baking sheet not only ensure that each piece cooks evenly, but also allows the bacon grease to drain off effectively during the cooking process. This helps in achieving a crispy texture and prevents the bacon from becoming soggy. By arranging the strips carefully on the sheet, you can optimize the overall cooking time, ensuring that each piece is done to perfection. For best results, place the bacon strips about 4 to 6 inches apart, depending on the thickness of the slices.
Lay Out the Bacon Strips
Laying out the bacon strips on the prepared baking sheet sets the stage for even baking, ensuring that each slice is done to perfection and ready for draining excess grease.
Once the bacon strips are meticulously arranged on the baking sheet, it’s crucial to pay attention to their positioning. Make sure the slices are not overlapping as this can cause uneven baking. The edges should be slightly curled towards the inside to prevent them from burning. Keep an eye out for that perfect golden-brown color, a sure sign that the bacon is cooked to perfection. Typically, an oven-cooked bacon recipe calls for a cooking time of 4 to 6 minutes per side, but this can vary depending on the thickness of the slices and your desired level of crispiness.
Bake the Bacon
Baking the bacon in the preheated oven allows for a hands-off cooking experience, where the bacon can be checked periodically for desired crispness and doneness.
When preparing a large batch of bacon, preheat your oven to an ideal temperature and line a baking sheet with parchment paper or foil for easy cleanup.
Arrange the bacon slices in a single layer on the baking sheet, ensuring they do not overlap to allow for even cooking.
Cook the bacon for approximately 15-20 minutes, checking after the first 5 minutes to gauge the level of crispness.
If you prefer extra crispy bacon, leave it in for a few more minutes, but be mindful not to overcook.
Once done, transfer the crispy bacon strips to a paper towel-lined plate to drain excess grease before serving. Enjoy your perfectly baked bacon that stays fresh for up to 6 months in the freezer.
Check for Doneness
Checking for doneness ensures that the bacon is cooked to perfection and ready to be removed from the oven for draining excess grease.
One of the best visual cues to look for when ensuring that your oven-cooked bacon is done is a nice golden brown color all over. The edges should be slightly crispy, but not burnt, ensuring a perfect balance of texture.
Remember that the bacon will continue to cook slightly once removed from the oven, so taking it out when it’s just shy of your desired crispiness is recommended. Another indicator of doneness is the texture – the bacon should feel firm and slightly pliable when gently pressed. A cooking time of 4 to 6 minutes per side usually results in a perfectly cooked bacon slice.
Remove and Drain the Bacon
After the bacon reaches the desired level of crispiness, it should be promptly removed from the oven and drained on a paper towel to absorb excess bacon grease.
Proper timing is crucial at this stage to prevent the bacon from getting too crispy or overly greasy. Let the bacon cool for a minute or two on the paper towel to allow the excess bacon grease to be absorbed effectively.
To reduce the amount of bacon grease further, consider placing the cooked bacon on a wire rack over a baking sheet. This allows the hot bacon to continue to drain and crisp up properly, ensuring that each strip stays delightfully crunchy.
Always remember to avoid overcrowding the bacon strips during baking; ideally, you want to arrange them in a single layer on the baking sheet.
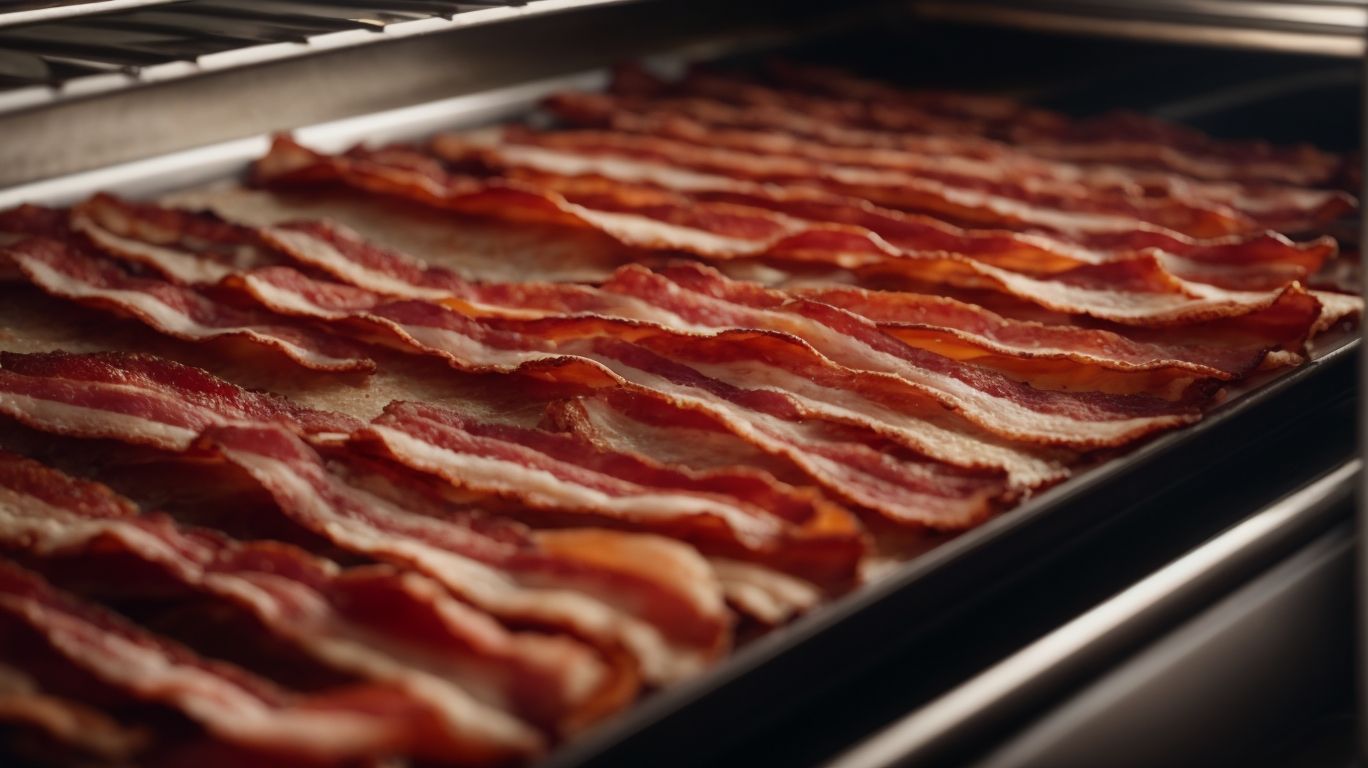
Tips for Perfectly Cooked Bacon
Credits: Poormet.Com – Joshua Green
To achieve perfectly cooked bacon in the oven, follow these expert tips that guarantee optimal flavor, texture, and overall bacon satisfaction.
Start by selecting high-quality thick-cut bacon slices for your oven cooking adventure. The thickness ensures a juicy interior and crispy exterior after baking. Next, elevate your bacon game by placing the slices on a cooling rack set inside a rimmed baking sheet. This setup allows the bacon grease to drip off, resulting in a less greasy final product. Line the baking sheet with foil or parchment paper before placing the rack to facilitate a swift cleanup process.
Use Thick-Cut Bacon
Opting for thick-cut bacon enhances the overall texture and juiciness of the oven-cooked bacon, providing a satisfying bite with each slice.
Thick-cut bacon is ideal for large batch cooking as it retains its thickness and shape even after baking in the oven. At a preheated 425°F, the bacon becomes crispy on the edges while remaining tender inside, creating a perfect balance of texture. The thickness allows the bacon to render its fat slowly, resulting in a more flavorful and juicier outcome. When lining them on a baking sheet, thick-cut bacon strips require around 4 to 6 minutes per side to achieve that perfect golden brown color and delicious taste.
Use a Cooling Rack
Placing bacon on a cooling rack during oven cooking elevates the bacon above excess grease, allowing for even crisping and optimal eye-catching presentation.
By lifting the bacon off the baking sheet, the cooling rack promotes air circulation around the bacon strips, aiding in achieving that coveted perfect crunchiness. The reduced contact with grease translates to a healthier end result, making it a preferable choice for those conscious about their fat intake.
Not just the taste but the visual appeal is also enhanced, as the bacon sits above the drippings, creating a consistently crispy texture that’s pleasing to the eye. When following an oven recipe with a cooking time of around 4 to 6 mins, incorporating a cooling rack can result in bacon that remains fresh and delicious for up to 8 months, maintaining its quality over an extended period of time.
Line the Baking Sheet with Foil or Parchment Paper
Lining the baking sheet prevents bacon grease from sticking, making cleanup a breeze and ensuring that the bacon stays free from excess grease while baking.
When you line the baking sheet with foil or parchment paper, you create a barrier that not only simplifies cleaning but also traps the bacon grease, preventing it from seeping into the pan and causing a mess.
This small but crucial step can make a significant difference in the quality of your oven-cooked bacon. By containing the grease, your bacon cooks more evenly and retains its distinct flavor without getting soggy.
Lining the baking sheet with foil or parchment paper extends its lifespan, ensuring you can use the same sheet for up to 8 months without it becoming stained or difficult to clean.
Keep an Eye on the Bacon
Regularly monitoring the bacon during the oven cooking process ensures that it reaches the desired level of crispiness without burning, making it easy to adjust as needed.
One key visual cue to watch for is the edges of the bacon turning a dark golden brown, signaling that it’s nearing perfect crispness. The aroma of sizzling bacon becoming more intense as it cooks indicates it’s almost ready. To ensure optimal results, lightly press the bacon with a fork; if it feels firm and crunchy without being overly hard or brittle, it’s done. By following these steps at the recommended oven temperature of 400°F for around 18 minutes, you’ll achieve consistently delicious oven bacon every time.
How to Clean Up After Cooking Bacon in the Oven?
Credits: Poormet.Com – Donald Smith
Cleaning up after oven-cooked bacon is a breeze if you follow these simple steps to handle grease disposal, baking sheet cleaning, and leftover grease storage.
After baking your bacon strips for about 23 mins in the oven, the delicious crispy outcome may leave a mess behind, but fear not, for cleaning up can be quick and painless. The baking sheet used can be protected by lining it with aluminum foil or parchment paper before cooking. Once done, allow the grease to cool for approximately 5 mins, then carefully pour it into a heat-resistant container for disposal, using a paper towel to wipe off leftover bits.
Regarding the baking sheet, soak it in warm soapy water to loosen any stuck-on residue before scrubbing it with a sponge or brush. For stubborn stains, sprinkle baking soda and vinegar to create a natural cleaning paste and let it sit before scrubbing. To store leftover grease, let it cool completely, then transfer it to a sealed container and refrigerate for future cooking endeavors.
Let the Grease Cool
Allowing the bacon grease to cool in the pan post-cooking is essential to avoid accidental burns and ensures safe handling for proper disposal.
Once the bacon is done sizzling in the oven at 425°F for about 20 minutes, resist the temptation to pour the hot grease down the drain, as it can cause plumbing issues. Instead, place a baking sheet underneath the cooling pan to catch any potential spills or drips. This extra step not only prevents mess but also facilitates the easy transfer of the cooled grease into a disposable container. Remember to keep a close eye on the cooling process, making sure it solidifies before moving or disposing of it.
Dispose of the Grease Properly
Properly disposing of bacon grease involves cleaning the pan with paper towels, storing excess grease in a glass jar, and discarding solidified grease in the trash.
If you’re looking for an easy and eco-friendly way to handle bacon grease after trying out that delicious oven recipe, here’s a step-by-step guide for you. After cooking your bacon in the oven at 375°F for around 20 minutes, start by carefully removing the bacon strips from the pan. Next, use a few layers of paper towels to soak up the grease present in the pan, ensuring you wipe it thoroughly. Then, pour any remaining liquid grease into a glass jar for safe storage. Once the grease cools and solidifies, simply toss it into the trash, avoiding any potential clogs in your drains.
Clean the Baking Sheet
Cleaning the baking sheet post-bacon cooking involves soaking in warm, soapy water, scrubbing off any residue, and storing it for future use in your kitchen.
After you’ve finished cooking bacon in the oven at 450°F for about 12 minutes, your baking sheet may be left with stubborn grease stains. To effectively clean it, start by sprinkling baking soda on the sheet and then pouring vinegar over it, creating a foaming effect that helps to loosen the grease. Let it sit for around 15 minutes before scrubbing with a non-abrasive sponge to remove the grease.
To ensure thorough cleaning, pay special attention to the edges and corners of the baking sheet. These places typically accumulate the most grease buildup and can be more challenging to clean. Use a toothbrush or a small brush to reach these areas and scrub off any remaining residue.
For long-term storage of your baking sheet, make sure it is completely dry before stowing it away. Moisture left on the sheet can lead to rusting over time. Consider storing the baking sheet flat or hanging it to avoid bending or warping.
Store Leftover Bacon Grease for Future Use
After removing excess bacon grease, store it in a glass jar for future culinary uses, ensuring that it is sealed tightly and kept in a cool, dark place for extended freshness.
When collecting leftover bacon grease from oven-cooked strips, preheat your oven to 425°F and lay the bacon on a wire rack over a baking sheet to catch the drippings. Let it cook for approximately 20 minutes until crispy. Once done, carefully tilt the baking sheet to pour the excess grease into the glass jar.
Benefiting both your dishes and environment, storing this versatile bacon grease extends its usability for sautéing, adding flavor, or even greasing pans. By properly sealing and chilling it, you prevent oxidation and rancidity, ensuring its quality for weeks to come.
Frequently Asked Questions
1. How to Cook Bacon in the Oven Without Making a Mess?
There’s nothing worse than dealing with splattering grease and a greasy stovetop when cooking bacon. Luckily, there’s a simple solution to avoid the mess: cooking bacon in the oven. Here’s how:
1. Preheat your oven to 400°F.
2. Line a baking sheet with foil or parchment paper.
3. Lay bacon strips on the lined baking sheet, making sure they don’t overlap.
4. Bake for 15-20 minutes, depending on the thickness of your bacon and how crispy you like it.
5. Remove from oven and transfer bacon to a paper towel-lined plate to absorb excess grease.
6. Enjoy your perfectly cooked bacon without the mess!
2. What are the advantages of cooking bacon in the oven?
Aside from avoiding the mess, cooking bacon in the oven has other benefits. It allows for more even cooking and a crispier texture. Plus, you can cook a larger batch at once, making it great for feeding a crowd.
3. Can I use any type of bacon for this method?
Yes, you can use any type of bacon for cooking in the oven. Whether it’s thick-cut, thin, or even turkey bacon, the method remains the same. Just adjust the cooking time accordingly based on the thickness and type of bacon.
4. Do I need to preheat the oven for this method?
Yes, it’s important to preheat the oven to 400°F before placing the bacon inside. This ensures that the bacon will cook evenly and properly.
5. Do I need to flip the bacon while it’s cooking?
No, there’s no need to flip the bacon while it’s cooking in the oven. The heat is evenly distributed, so the bacon will cook on both sides without the need for flipping.
6. Can I save the bacon grease for future use?
Absolutely! Just be sure to strain the grease through a fine-mesh sieve to remove any bacon bits. Store the cooled grease in an airtight container in the fridge for up to a month. You can use it for cooking and adding flavor to dishes.